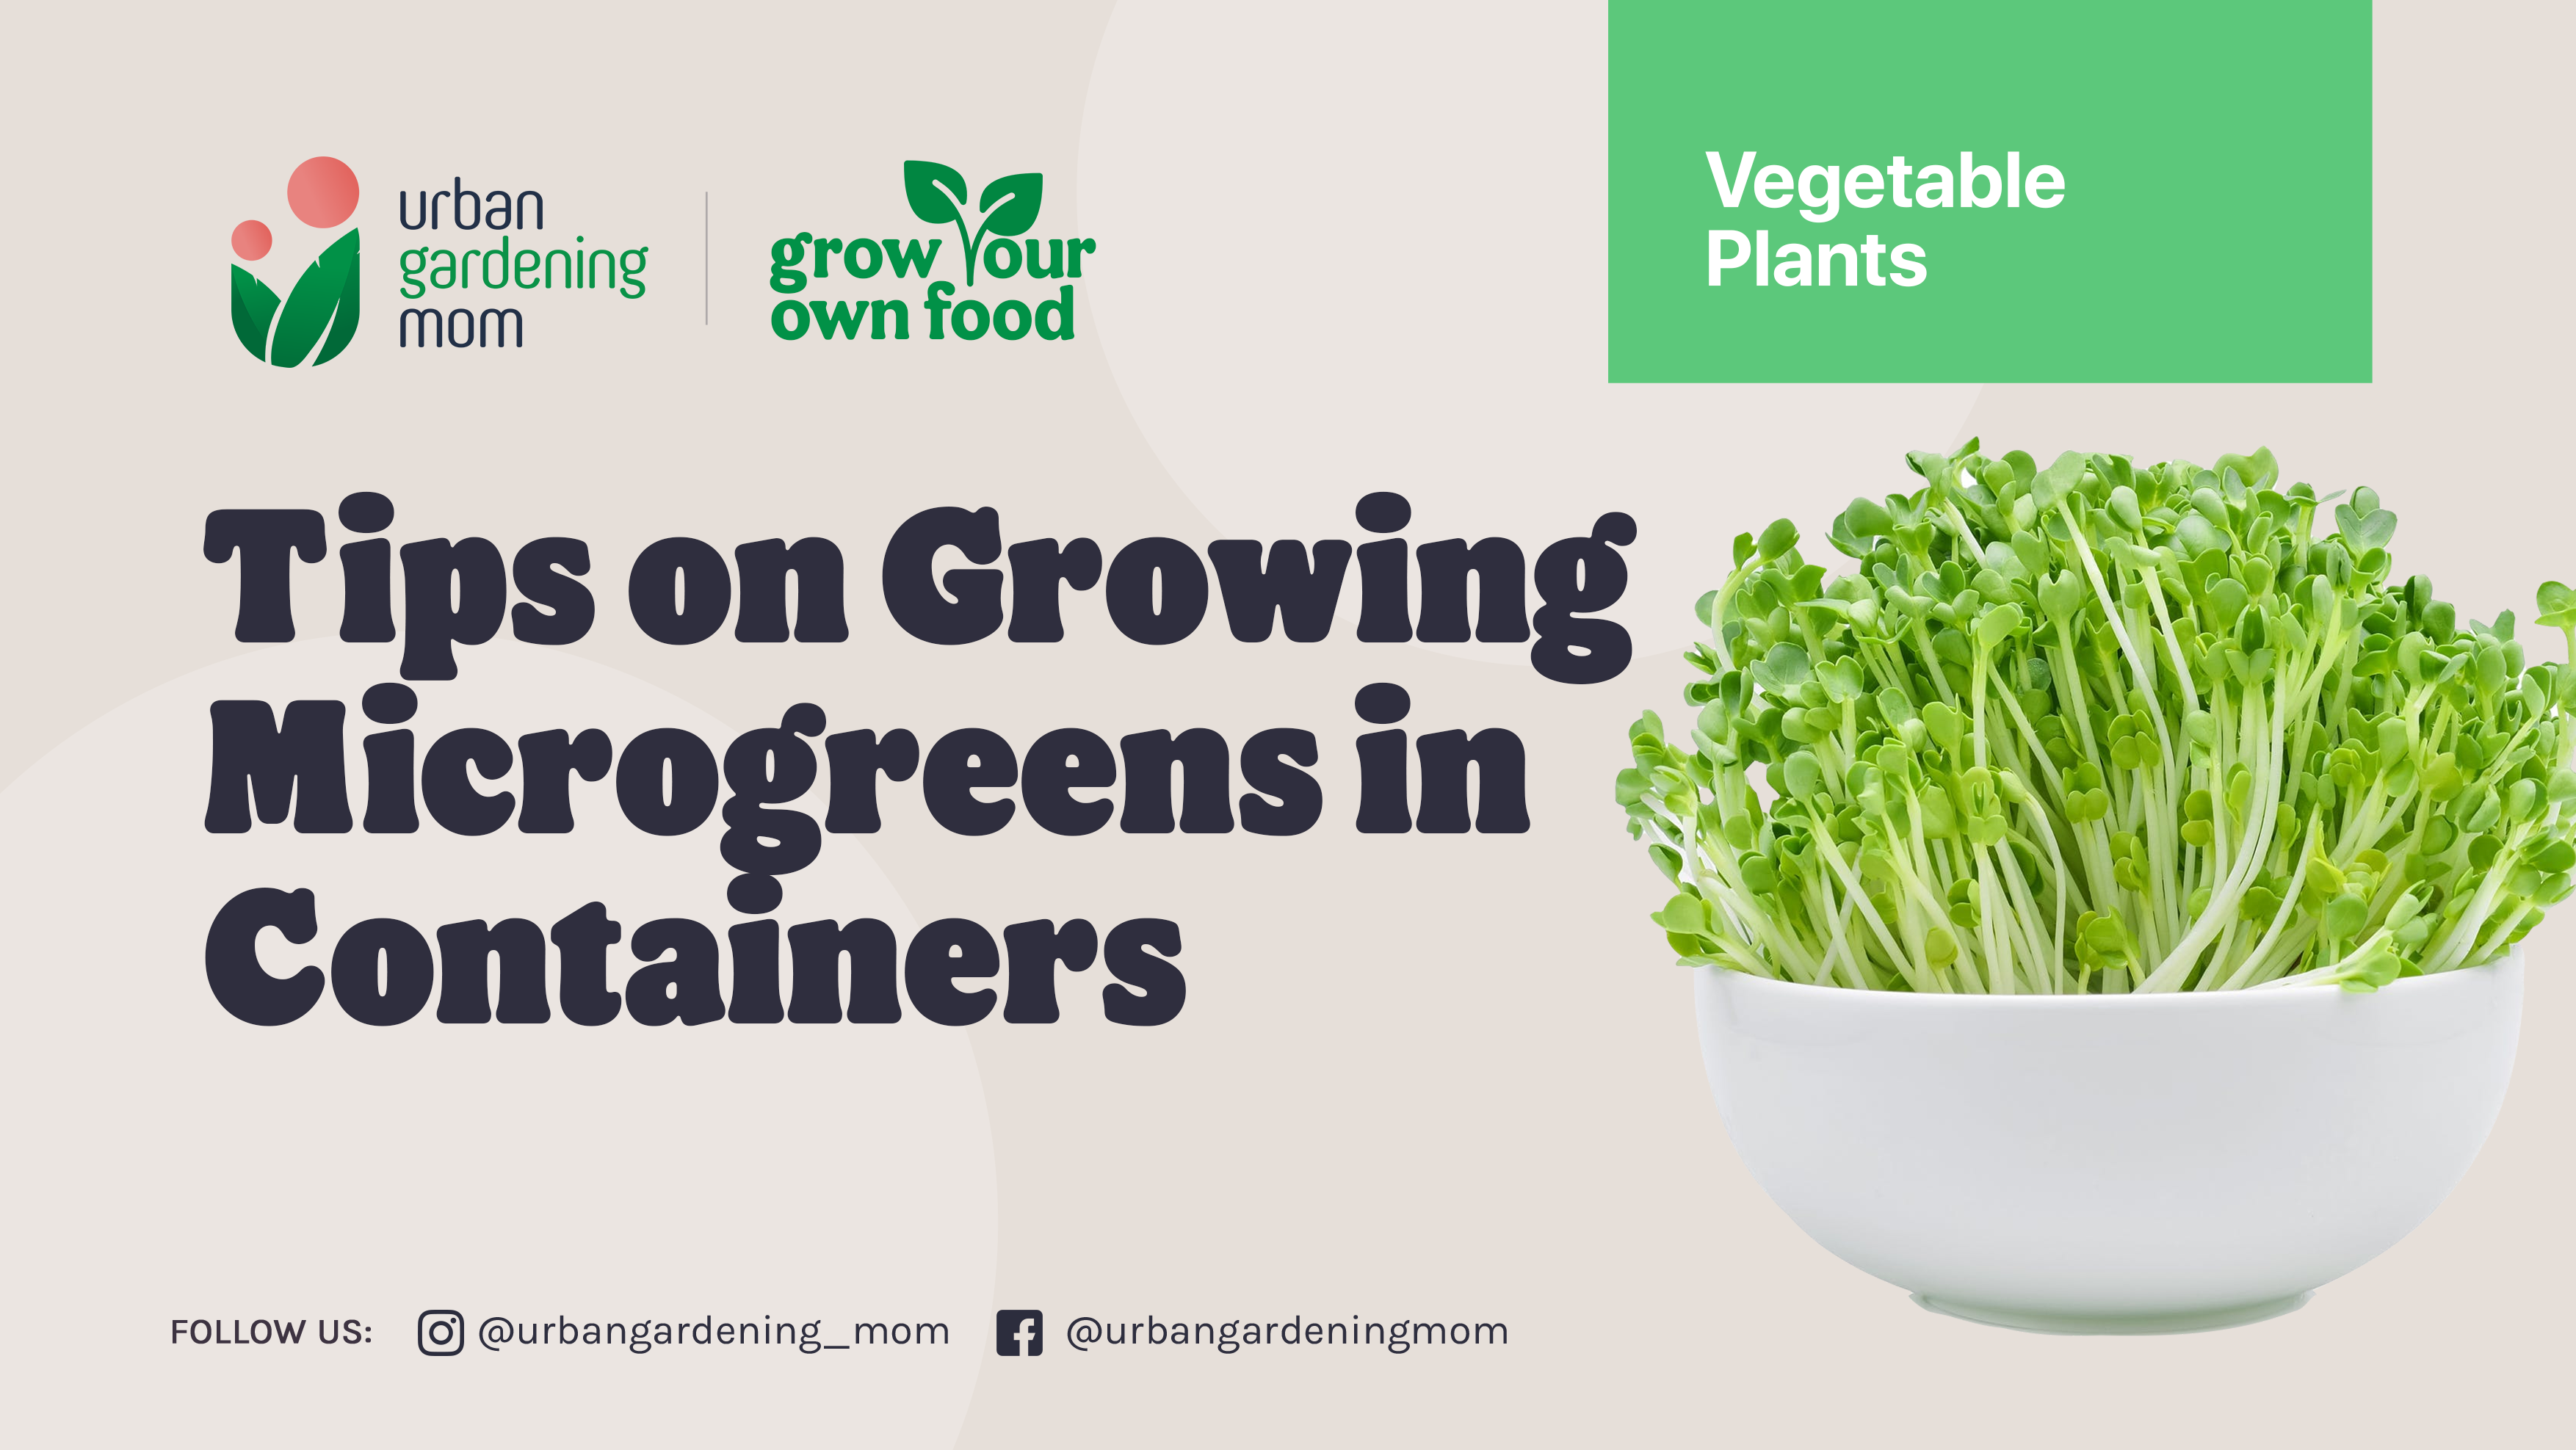
Go on a Healthy Diet: Grow Your Own Microgreens at Home
- Dec 21, 2021
- 0 Comment(s)
Micro-greens are simply vegetable plants that you intentionally grow and harvest while still very young seedlings. Usually, it only takes about 7 days to harvest the microgreens. Compare this to the normal cycle of leafy or salad greens, which take at least 21 days. If you have limited space and time, but you would like to eat healthy by growing your own green vegetables, I highly recommend growing microgreens instead.
Microgreens vs Sprouts vs Baby Greens
First, let's talk semantics. Technically, microgreens are different from sprouts and baby greens. Sprouts are seedlings which do not have leaves - like the mung bean sprouts that are commonly used in vegetable patties for instance. Sprouts can be harvested in less than 7 days. Microgreens, on the other hand, are usually harvested from 7 to 21 days, when the 3rd and 4th leaves have started to appear. Baby greens however are bigger than microgreens. These greens have established more leaves but are harvested while the leaves and stems are tender, and the flavor more subtle. Arugula is one of those that I prefer to harvest as baby greens.
Whether you grow for sprouts, microgreens and baby greens, the process for growing them is the same, except only for the number of days till harvest. Nonetheless, you can always opt to wait a little longer before you harvest your greens, if you prefer baby greens over microgreens.

What seeds can be grown as microgreens?
Here is my own shortlist of favorite varieties that are easy to grow as microgreens for beginners: pechay, pakchoi, radish, arugula, mustard greens, lettuce, amaranth, cabbage, alfalfa and broccoli.
Of course, the list goes on, more than 100 types of seeds. You'll be surprised to discover that some seeds can actually be grown as microgreens, like sunflower microgreens, for instance. You can check the internet for various sites that list down these seed varieties.
Just a word of caution though. Always be sure to check whether the particular variety of seed can be grown as microgreen. Some varieties are not edible as microgreens, like eggplants for example, and may be even be harmful if ingested. Properly label the seeds and the seed tray, to ensure that you are sowing the right variety. When in doubt, just stick to the edible leafy greens.
Depending on the variety, their flavor may range from neutral to a little spicy or even sour. Radish for example may offer a bit of a tangy/ spicy flavor, but I love how it blends in with the neutral flavors of lettuce in my salad.

Microgreens are an excellent source of nutrients.
According to Healthline (www.healthline.com), microgreens are packed with nutrients, and anti-oxidants. Their nutrients content is even more concentrated when compared to the mature greens of the same quantity. A cup of pechay microgreens for instance, contains more vitamin C, vitamin E and beta-carotene than a cup of mature pechay greens - by as much as 40 times.
Other health benefits of eating microgreens include lowering the risks of heart disease, alzheimer's disease, diabetes, and certain cancers. This is because microgreens are rich in anti-oxidants, far greater than their mature counterparts.
How to Grow Your Own Microgreens
The biggest plus for me is that they are so easy to grow and require little preparation. They can be grown all-year, both indoor or outdoors.
Here are what you will need:
- Seeds of your choice
- Re-usable Container (any container that is at least 2 inches deep)
- Growing media (I recommend Soil-less Potting Mix or Vermiculite)
- Grow Lights (If you don't have sunlight)
- Misting Spray with water

Step 1. Fill your container with soil-less potting mix or vermiculite, up to 2cm deep. I do not recommend using soil, unless it is properly sterilized.
Step 2. Water lightly until evenly moist, but not soggy.
Step 3. Sprinkle the seeds on top of the grow media.
Step 4. Cover the seeds with a thin layer of potting mix.
Step 5. Regularly spray the top with water to keep the seeds moist.
Step 6. Place the container in a well-lit area.
Step 7. Optionally, cover the container lightly with a plastic lid. Remove the cover when the seeds have sprouted.
Step 8. Once the seeds have germinated, you may expose them to morning sun for around 2-3 hours daily. Do not over expose to sunlight, as this might result in drying of the medium. (You may use grow lights if you have limited sunlight.)
Given the nutritional benefits, and the relative ease of growing them, there's no reason why you shouldn't start growing your microgreens now!


